
Module 7: Timber framed wall insulation
Modules
Need Materials?
If you’re working on a building project and need help specifying your materials, checkout the following.
Overview
Basic principles of how the insulation is installed, basic understanding of junctions and detailing, Which system is applicable to which surface and for which finish. Requirements for tapes and membranes.
Timber-frame construction with wood fibre insulation is one of the simplest possible ways to build with timber. The wall construction involves few layers, few processes and because it is so simple, it can be built to a very high standard easily.
In this section we’re looking at how the timber frame is insulated and then covered with Diffutherm boards, followed by a render. Towards the end of this section we will have a quick look at clad facades too.
Our standard rendered wall build-up is as follows:-
- Inside
- Skimmed plasterboard
- 38mm battened service void, filled with 40mm flexible wood fibre insulation
- 15mm OSB3 board, joints taped for airtightness (or VCL membrane)
- 140mm CLS timber frame, fully filled with flexible wood fibre insulation
- 60 - 120mm Diffutherm wood fibre board (depending on U-value)
- 5-6mm base coat render
- 2-4mm self coloured finish render
- Exterior
This method of construction can be used from simple, Building regulations compliant construction right up to, with a deeper frame, the highest Passivhaus standards.

Frame construction
The frame can be built on site or can be pre-fabricated off site and erected on site but either way should have the OSB board fitted to the INTERIOR face before any insulation is installed. During the construction of the frame it is very important to remember that any joints in the OSB must be taped before being covered by any internal partitions or floor decks. This ensures good levels of airtightness can be achieved once the roof is on and the frame is dry. More of this is covered in the airtightness section.
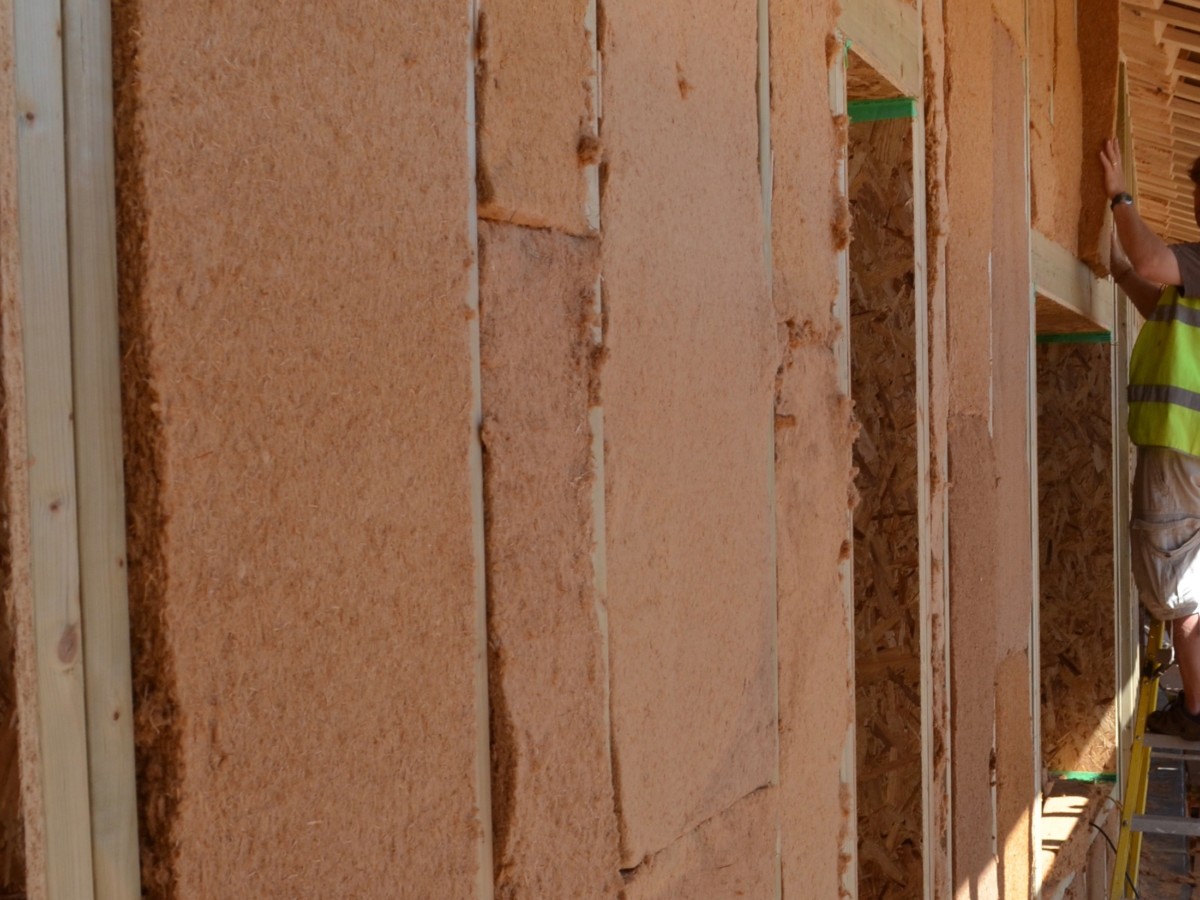
With the OSB fitted, the roof on and the frame dry the flexible wood fibre insulation, such as UdiFLEX or PavaFlex, is simply pressed in between the timber studs. Ensure that the insulation remains at it’s full thickness and the void between the timbers is completely filled with no gaps between any of the layers. For example, use 150mm insulation in a 145mm stud, rather than 140mm. This ensures the insulation performs as designed as air pockets and gaps reduce the performance.
Fitting the external boards
This section is largely on video as it is important to understand the processes involved.
1 - Installation of the plinth insulation
2 - Installing the first row of wood fibre boards
3 - Installing wood fibre boards on timber frame
4 - Installing reveal boards and window sills
5 - Applying renders and plastered to wood fibre insulation
6 - How to apply silicone/silicate finish renders
7 - How to finish silicone/silicate finish renders
